How to Add Your Business to Apple Maps: A Step-by-Step Guide

You have set up shop. The doors are open. The signage is up. But something feels off. Where are the customers?
Let us be real. People no longer rely on luck to find a local business. They search. And if your business is not showing up when someone says, “Siri, find a bakery near me,” you are probably losing potential foot traffic without even knowing it.
Knowing how to add business to Apple Maps is an important part of building your online presence. It is a powerful step toward increasing your local visibility and customer reach. Apple Maps comes pre-installed on every iPhone, iPad, and Mac. Millions of users rely on it for directions, “near me” searches, reviews, and business details.
According to data from Statista, Apple has over 2.2 billion active devices worldwide. If your business is not on Apple Maps, it is time to fix that. At AdLift, we guide you through getting listed on Apple Maps and building a strong business profile that works for you 24/7.
Why Every Local Business Should Be on Apple Maps
Before diving into the how, let us talk about the why. Adding your business to Apple Maps can help you:
- Expand your digital footprint
- Appear in “near me” and voice-based searches through Siri
- Build trust with a verified Apple Maps business profile
- Reach a wide audience of iOS users actively searching for services
Simply put, when you get listed on Apple Maps, you open the door to being found by people looking for exactly what you offer.
Also Read: How to List Your Business on Bing Easily
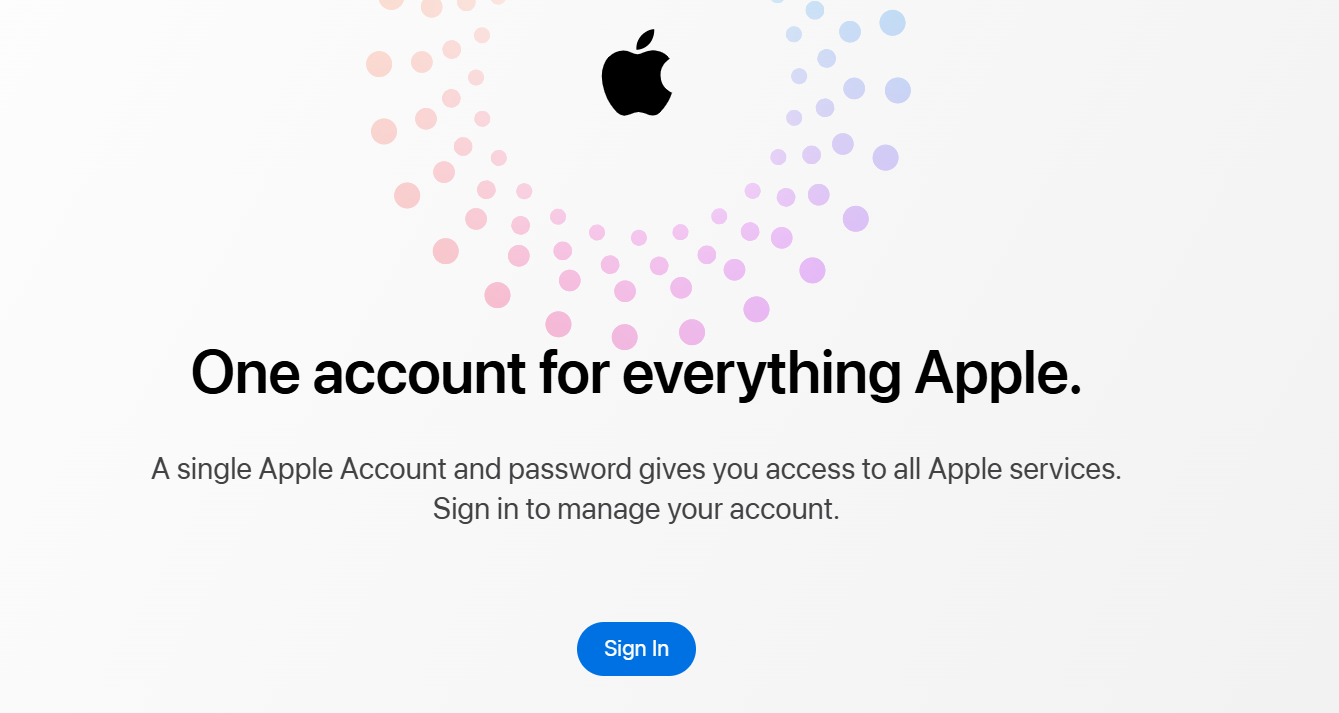
Create or Sign In with Your Apple ID
First things first, you need an Apple ID to access the Apple Business Connect platform.
- Go to appleid.apple.com
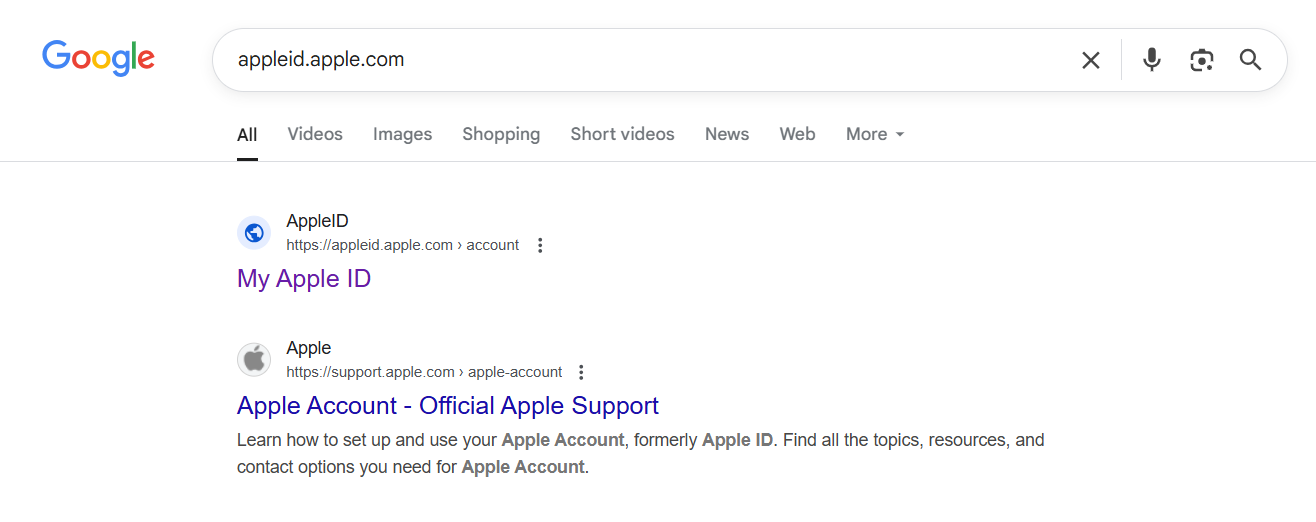
- Use your existing Apple ID to sign in, or create a new one if needed.
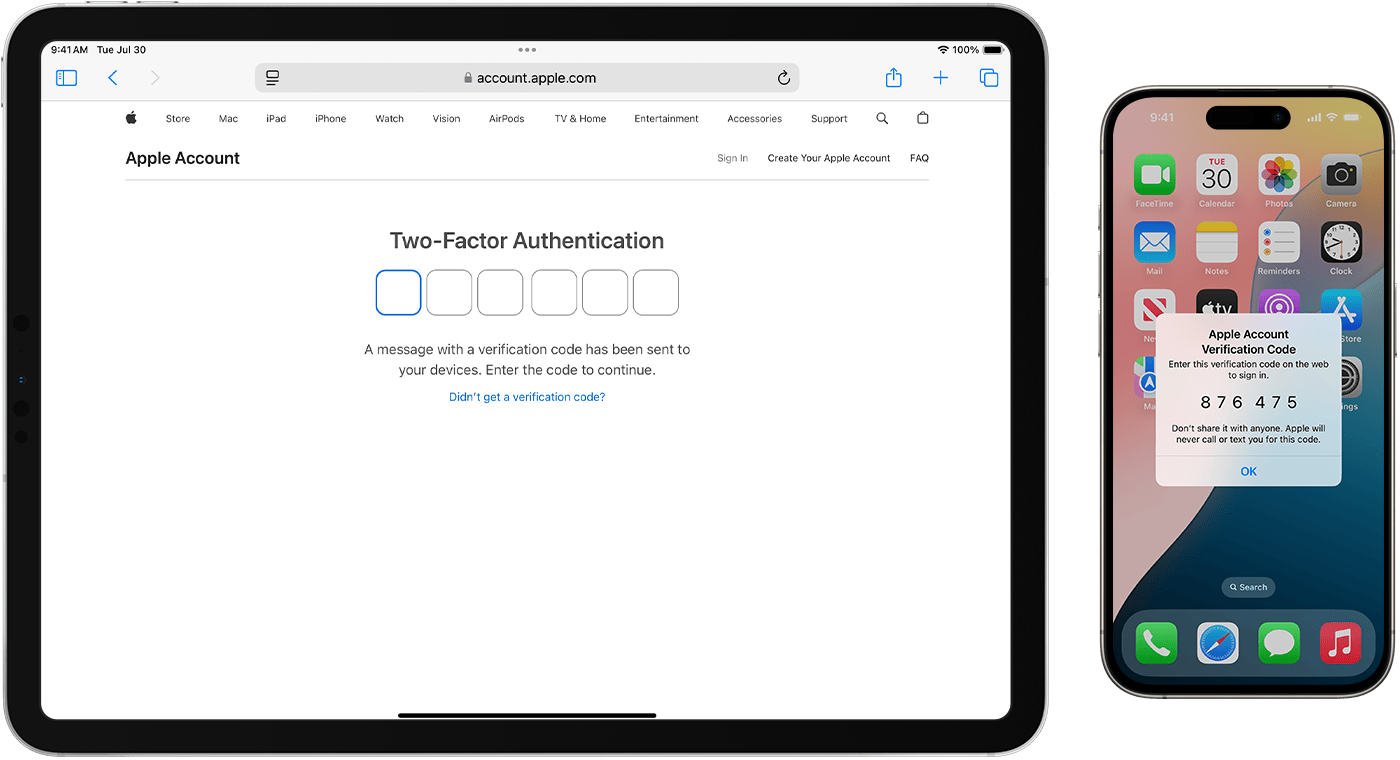
- Make sure two-factor authentication is enabled for security
- Ensure your login details are stored safely, as they will be needed for future updates.
This account acts as your gateway to creating and managing your Apple Maps listing.
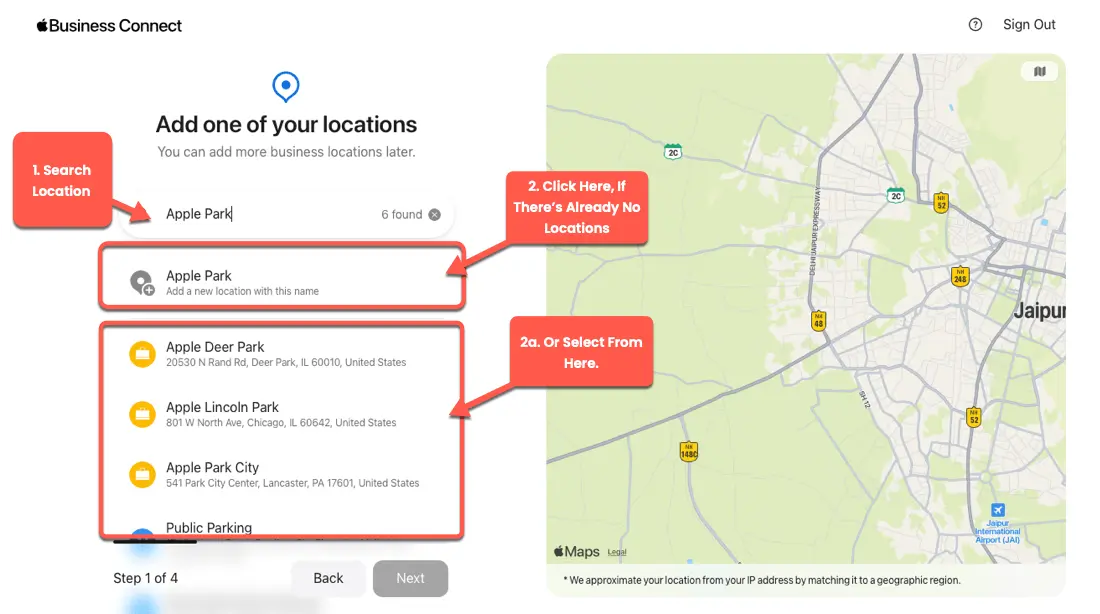
Access Apple Business Connect to Register
Once you are signed in, go to businessconnect.apple.com. This is the official portal where you can register your business on Apple Maps. You will be given two main options:
- Select Add New Location if your business is not yet listed
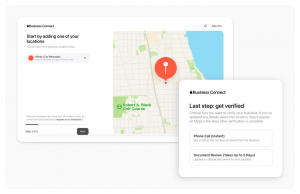
- Choose Claim This Location if Apple Maps already shows a basic listing
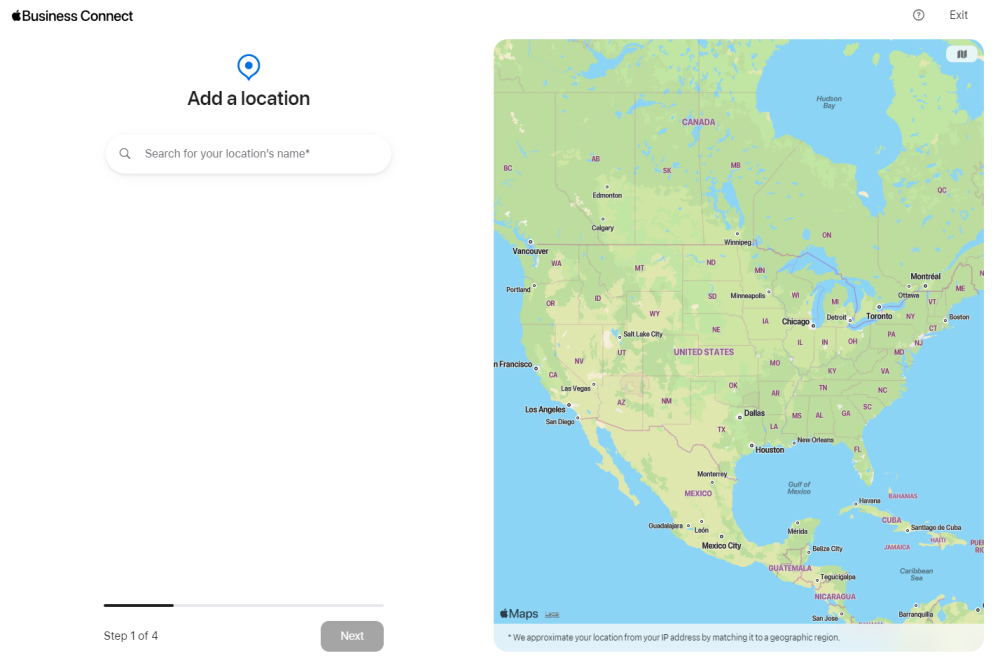
This portal is where you will add business to Apple Maps officially. It is a one-time setup, but you can return to it anytime for updates.
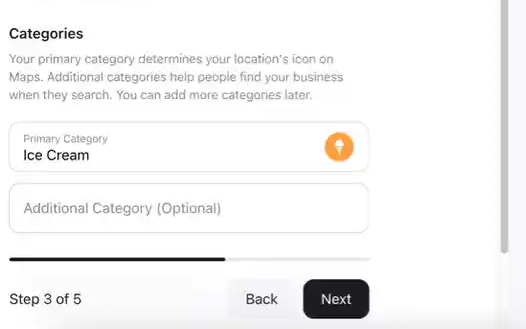
Set Up Your Apple Maps Business Profile Correctly
Now it is time to provide the details that define your business on the map. Your Apple Maps business profile should be consistent, professional, and informative.
Here is what you will need to fill out:
- Official business name
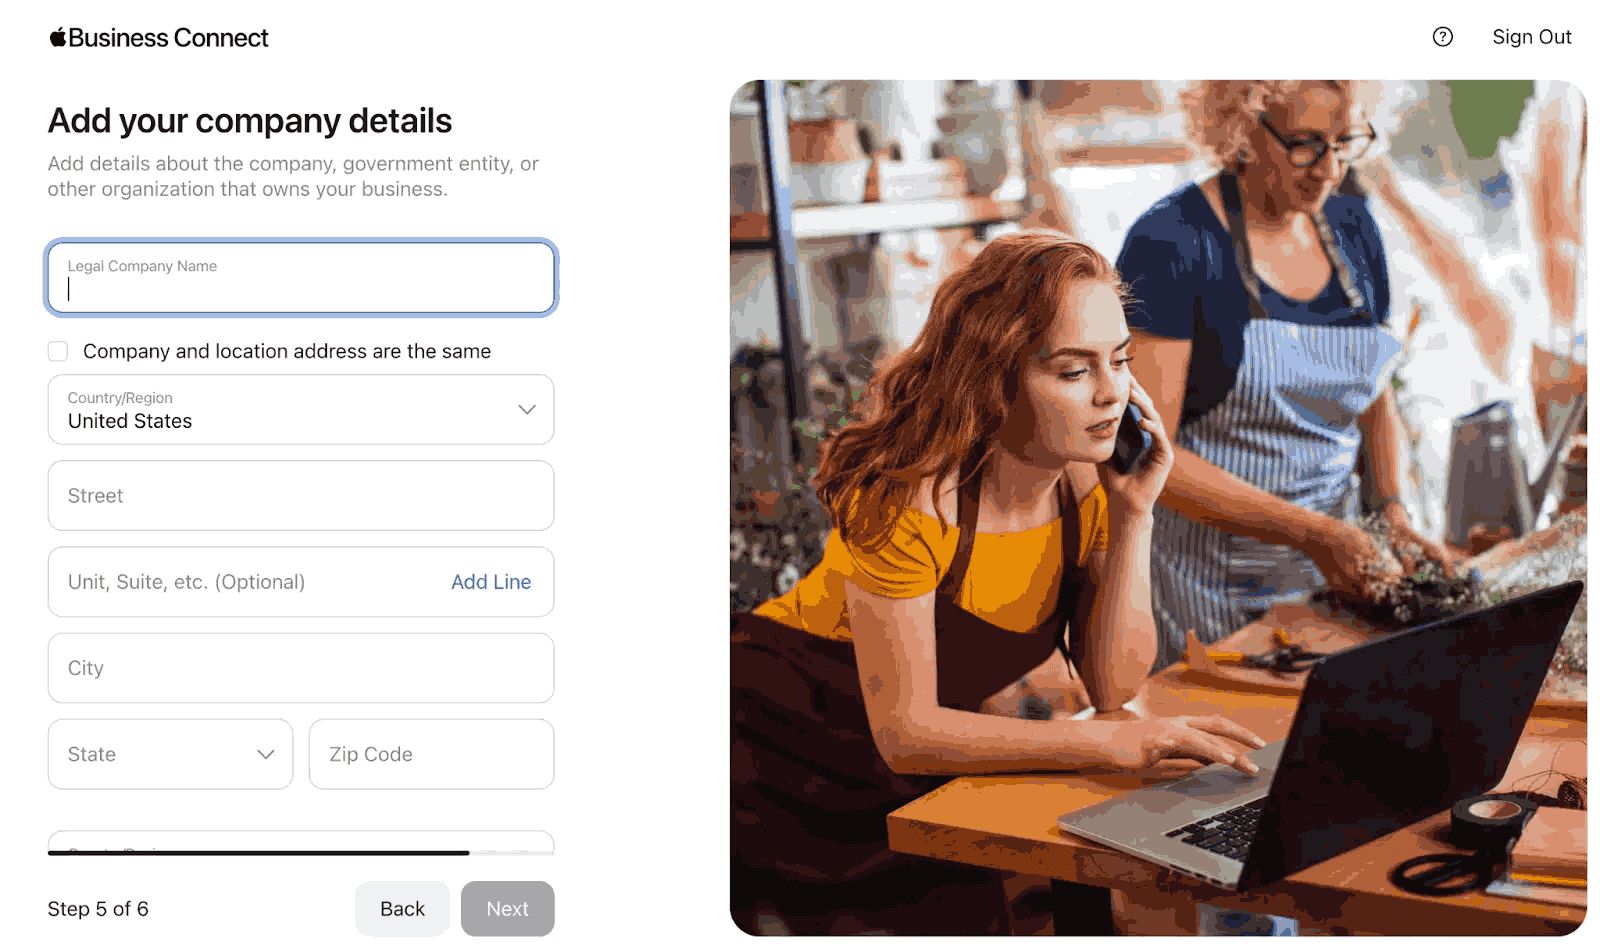
- Physical address and phone number
- Website URL (recommended for credibility)
- Primary business category (e.g., salon, gym, bakery)
Make sure this information matches your listings on Google, Yelp, Bing, and other directories. Consistency in Name, Address, and Phone (NAP) details helps boost your local search rankings.
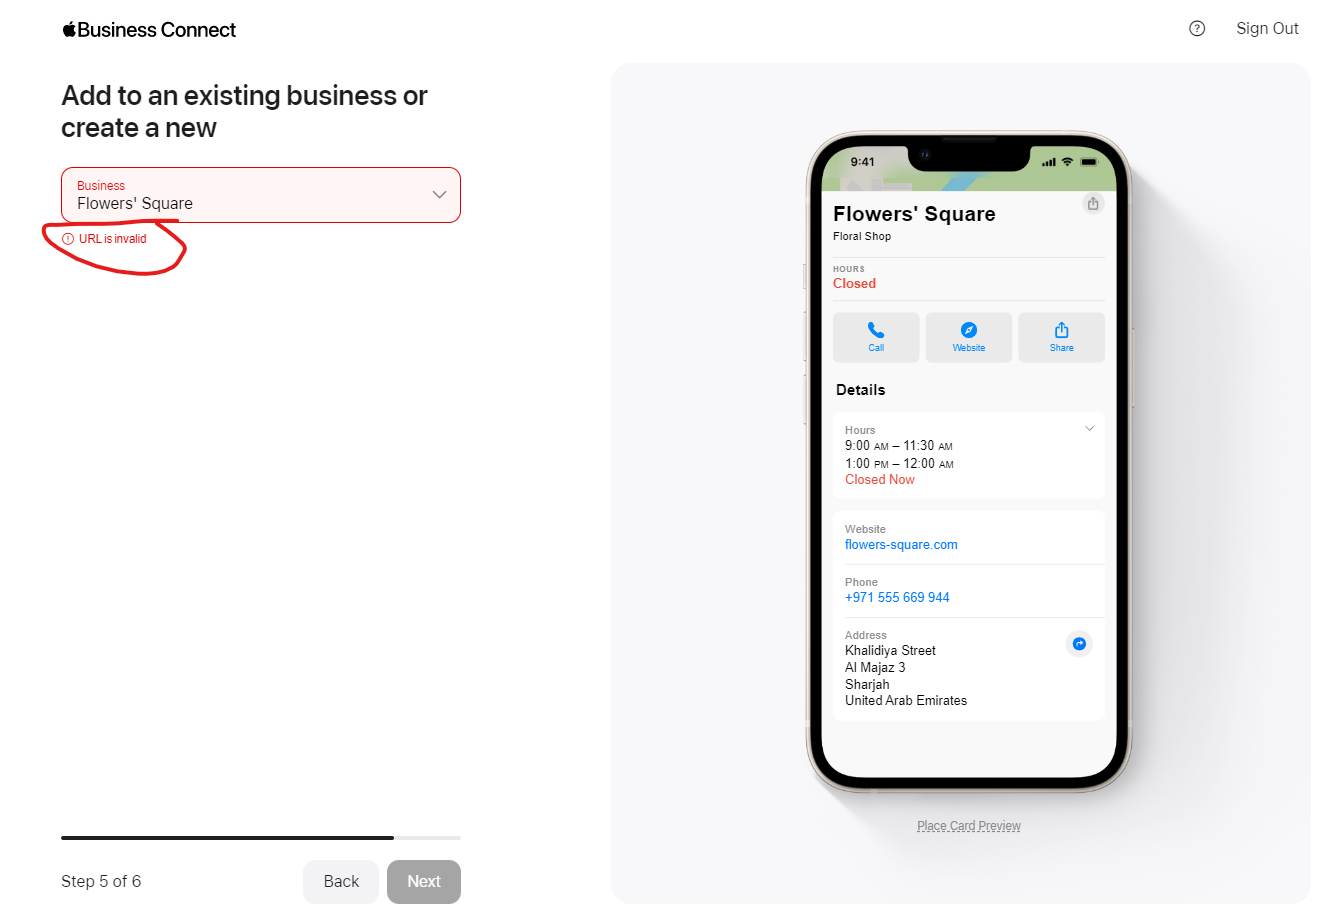
Verify Your Business to Go Live
To get listed on Apple Maps, you must verify ownership.
You can verify your business using one of the following:
- Phone verification: Apple calls your business number with a verification code
- SMS or email: If these options are available based on your business profile
- Manual verification: Upload documents like utility bills or a business licence
Once verified, your listing is submitted to Apple for approval. Most listings go live within a few hours to a few business days.
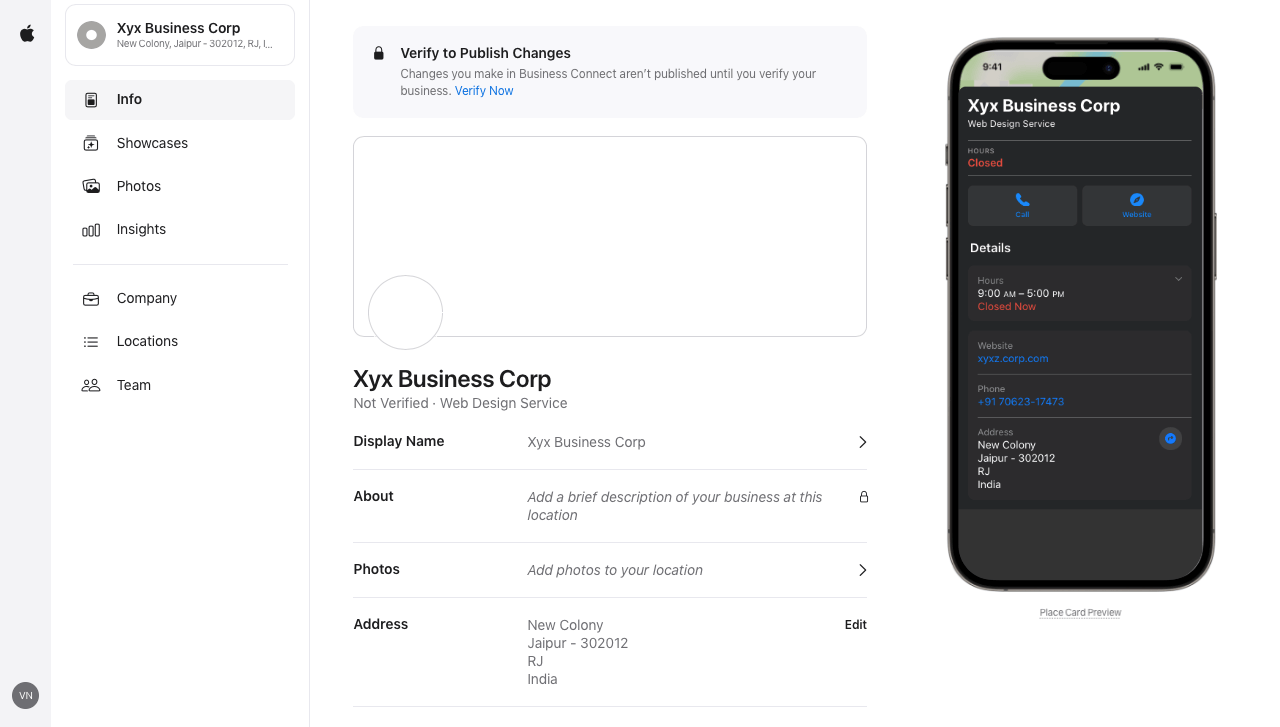
Add Business Details That Attract Customers
Now that your business is listed, make it stand out. This is where most small businesses stop, but you should go further.
Here is what you can add to your profile:
- High-resolution photos of your storefront, interior, products, or services
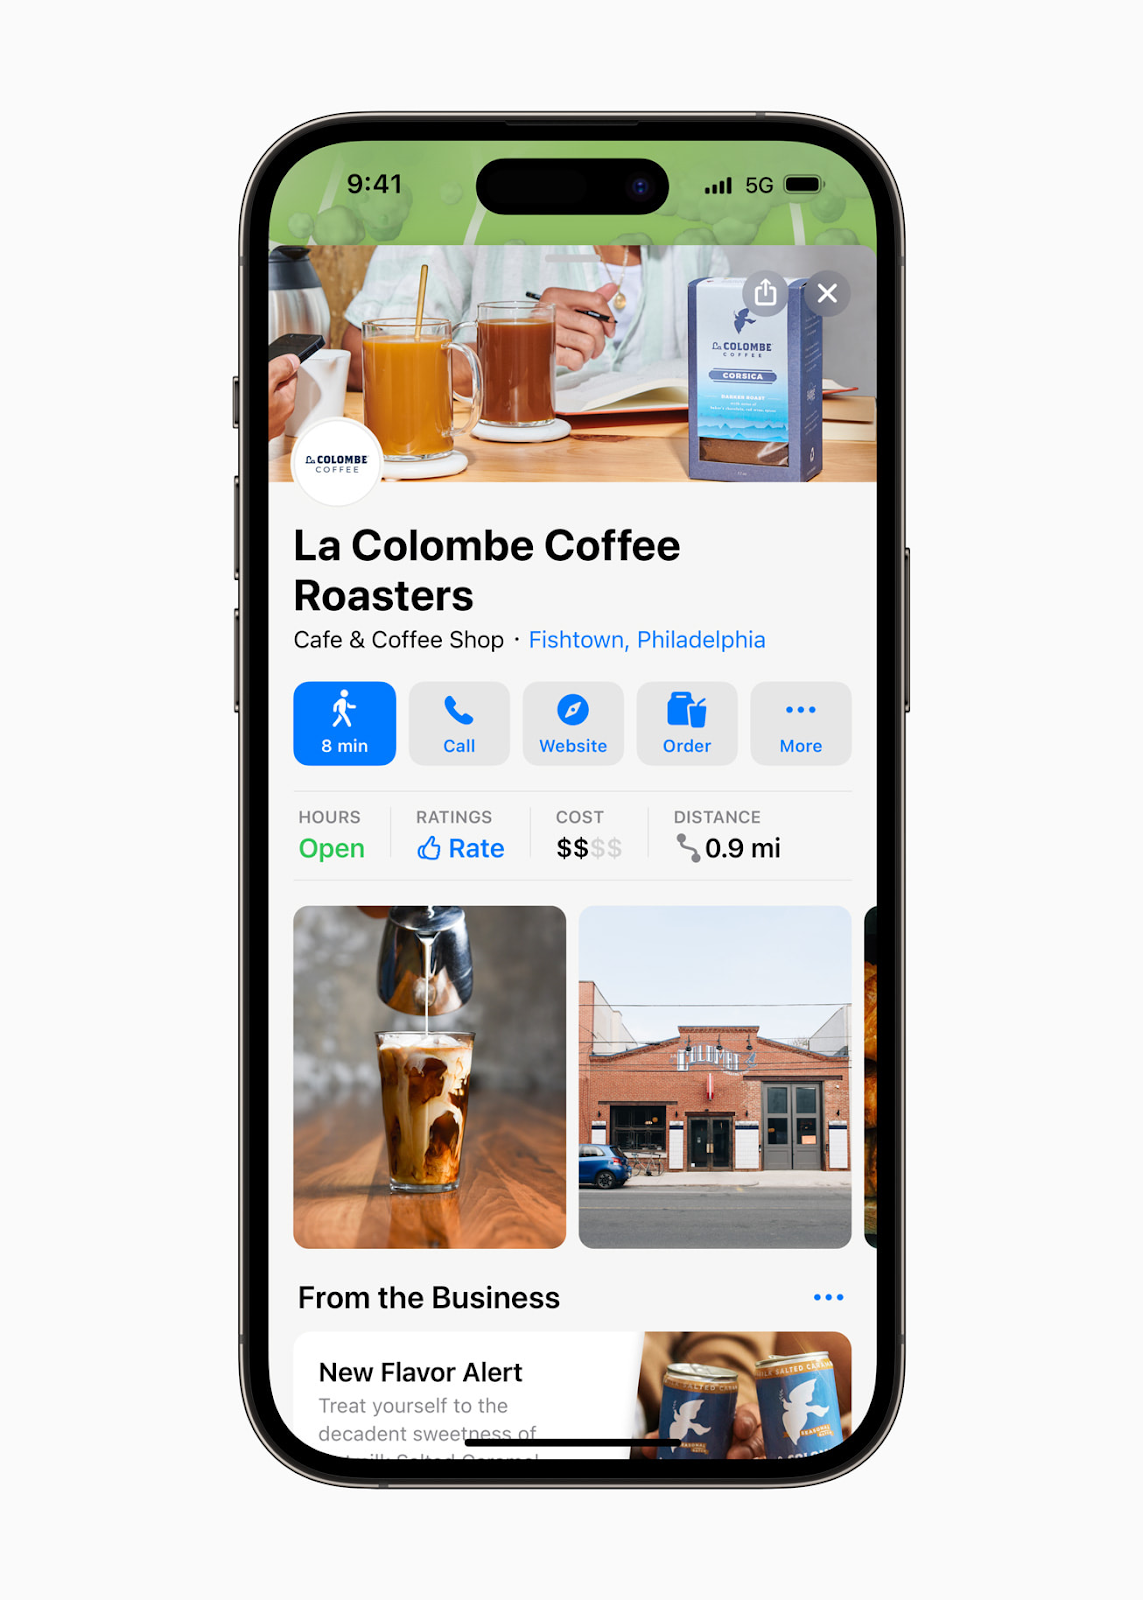
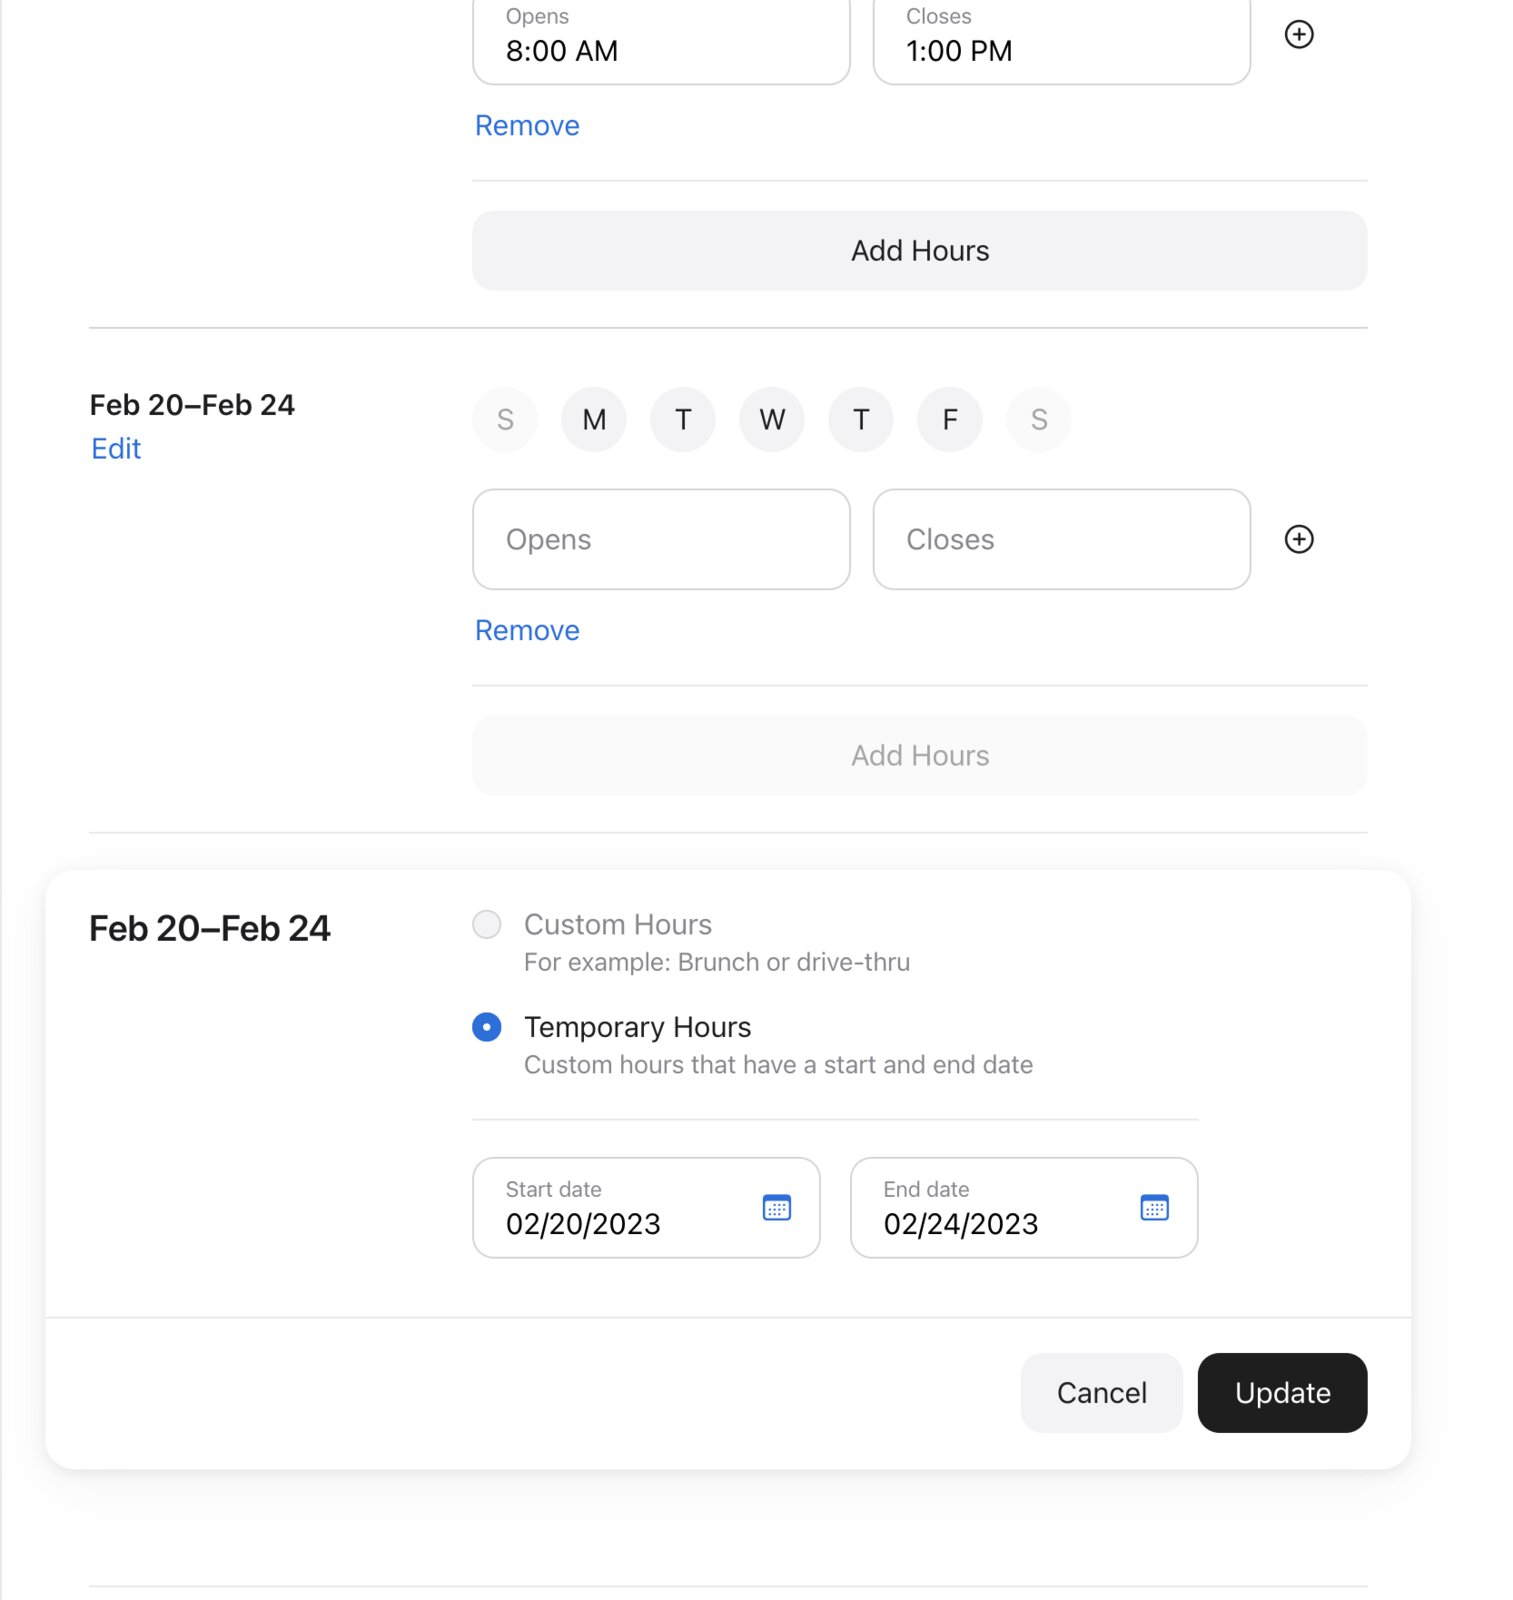
- Business hours, including special holiday hours
- A short, clear business description explaining what you offer
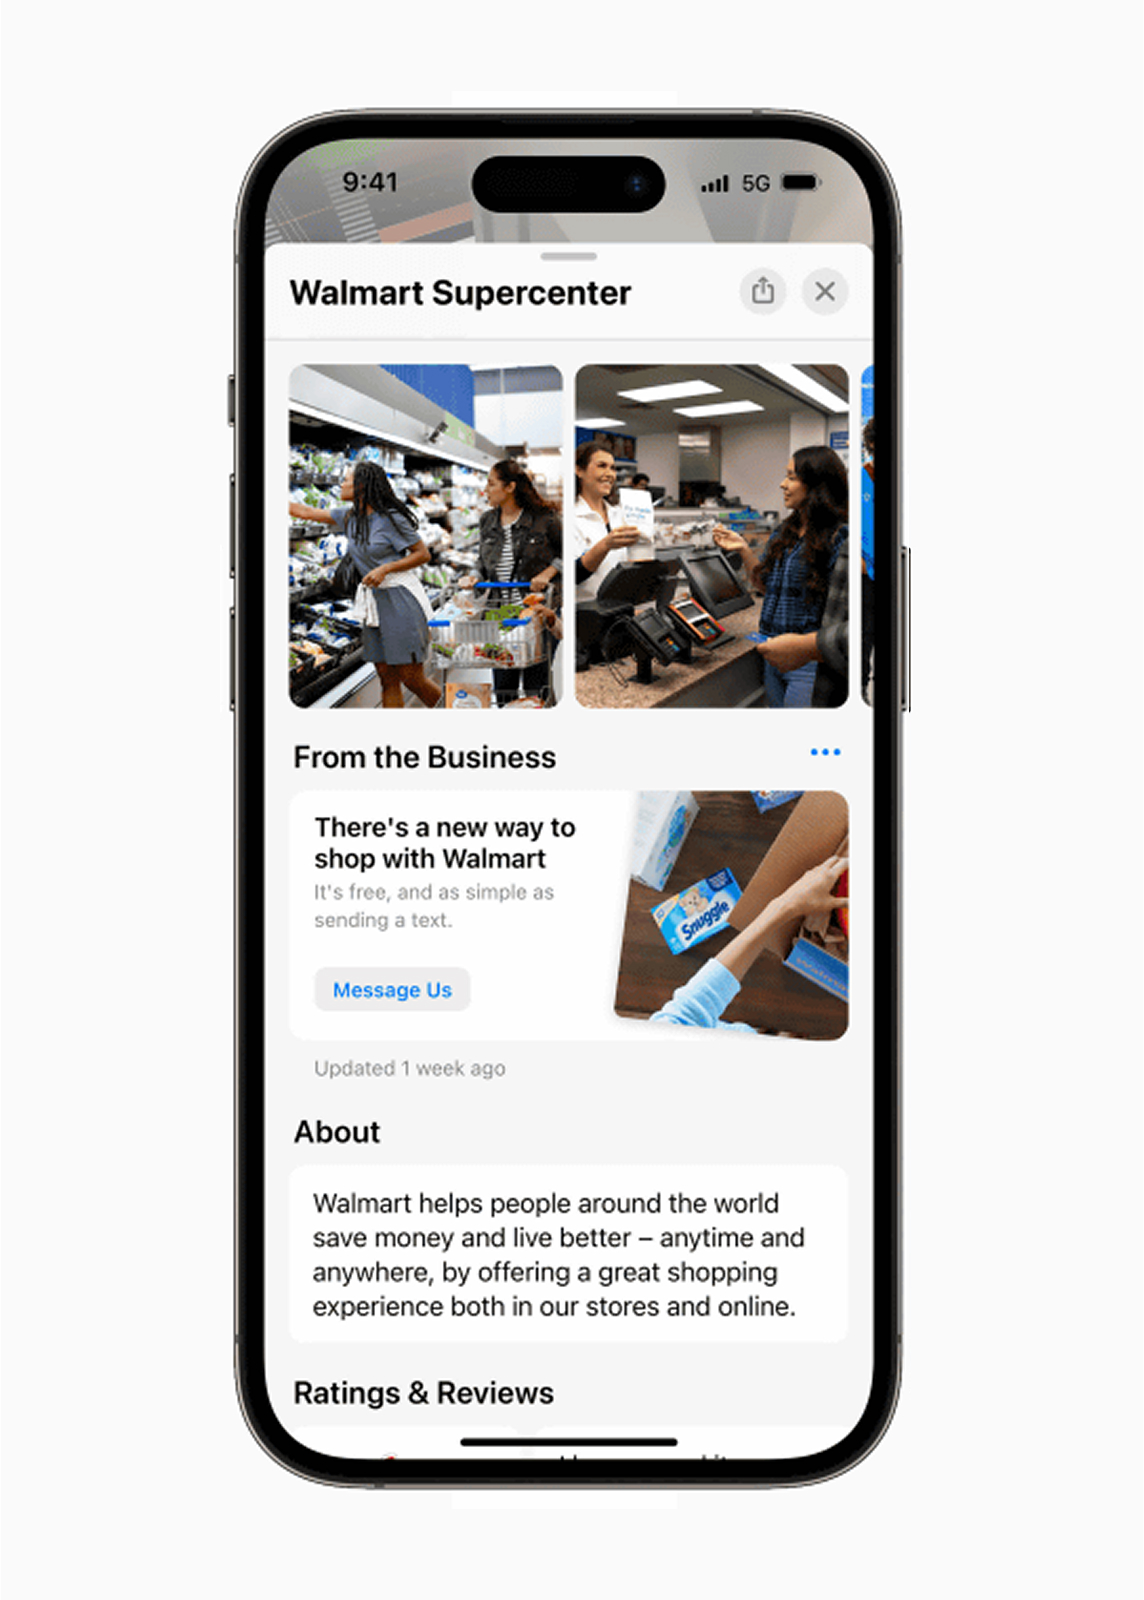
- Action buttons such as “Order Online,” “Book Appointment,” or “Reserve Table”
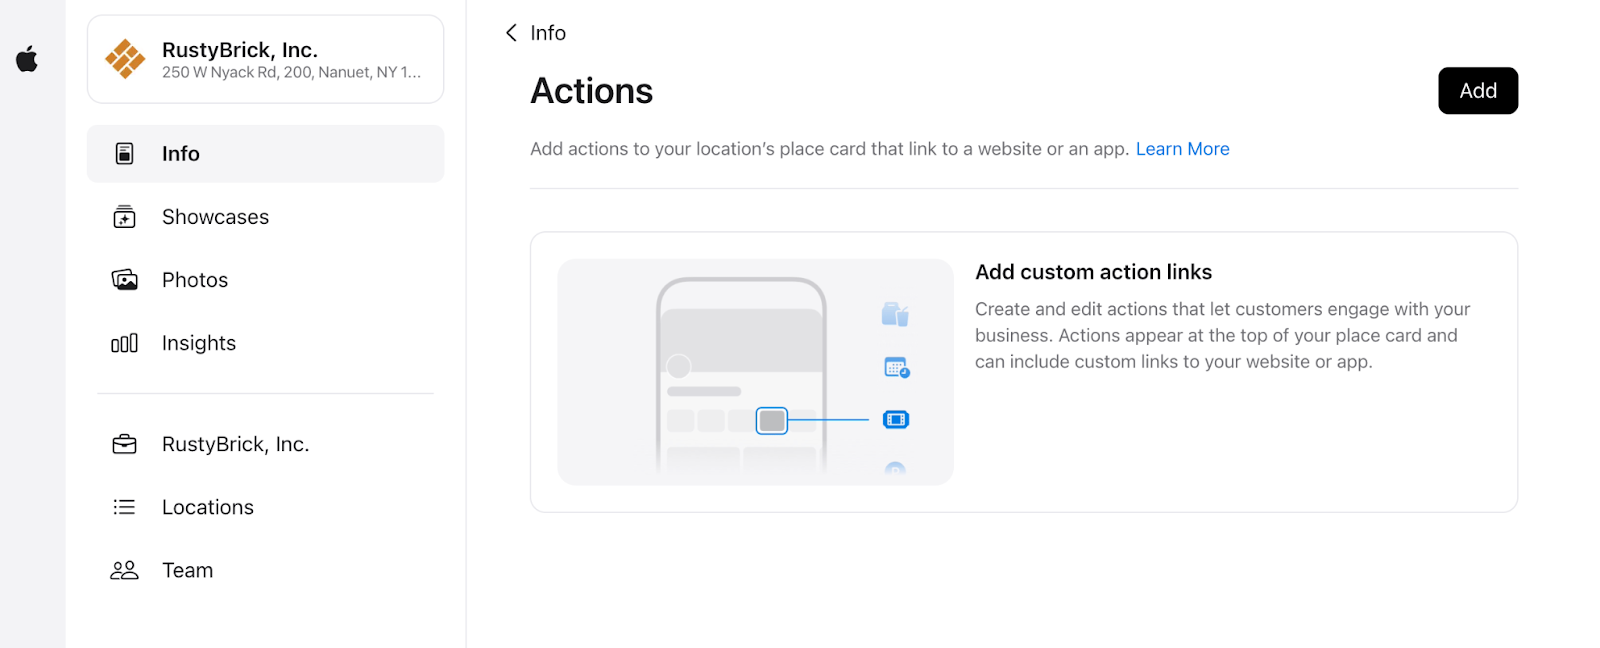
These features help your listing look more polished and credible. The more helpful and complete your profile is, the more likely someone is to visit.
Add More Locations if You Have Them
If you run a chain or franchise, you can register multiple locations on Apple Maps.
Simply go back to Apple Business Connect and:
- Select Add Location
- Repeat the setup process for each branch
- Ensure each listing has accurate, localized info and consistent branding
Apple makes it easy to manage multiple business locations from a single account.
Update Your Apple Maps Profile as Needed
Business details change. You may adjust your hours, move to a new location, or add new services. It is important to know how to use the Apple Maps update business feature.
Here is how:
- Log in to businessconnect.apple.com
- Select the business location you want to edit
- Click on Edit and make your changes
- Click Publish
Most updates reflect within a few hours. Staying up to date helps you avoid showing incorrect information to potential customers.
Keep Your Apple Maps Presence Active and Optimized
Just being listed is not enough. You should also maintain and improve your visibility on Apple Maps by:
- Updating your photos and hours regularly
- Keeping your business description fresh
- Responding to customer reviews when possible
- Using analytics to track performance and impressions
- Ensuring your Apple Maps listing matches Google, Yelp, and other platforms
You can monitor performance directly in your Business Connect dashboard using built-in insights such as:
- Number of searches
- Profile views
- Clicks to the website or call actions
- Direction requests
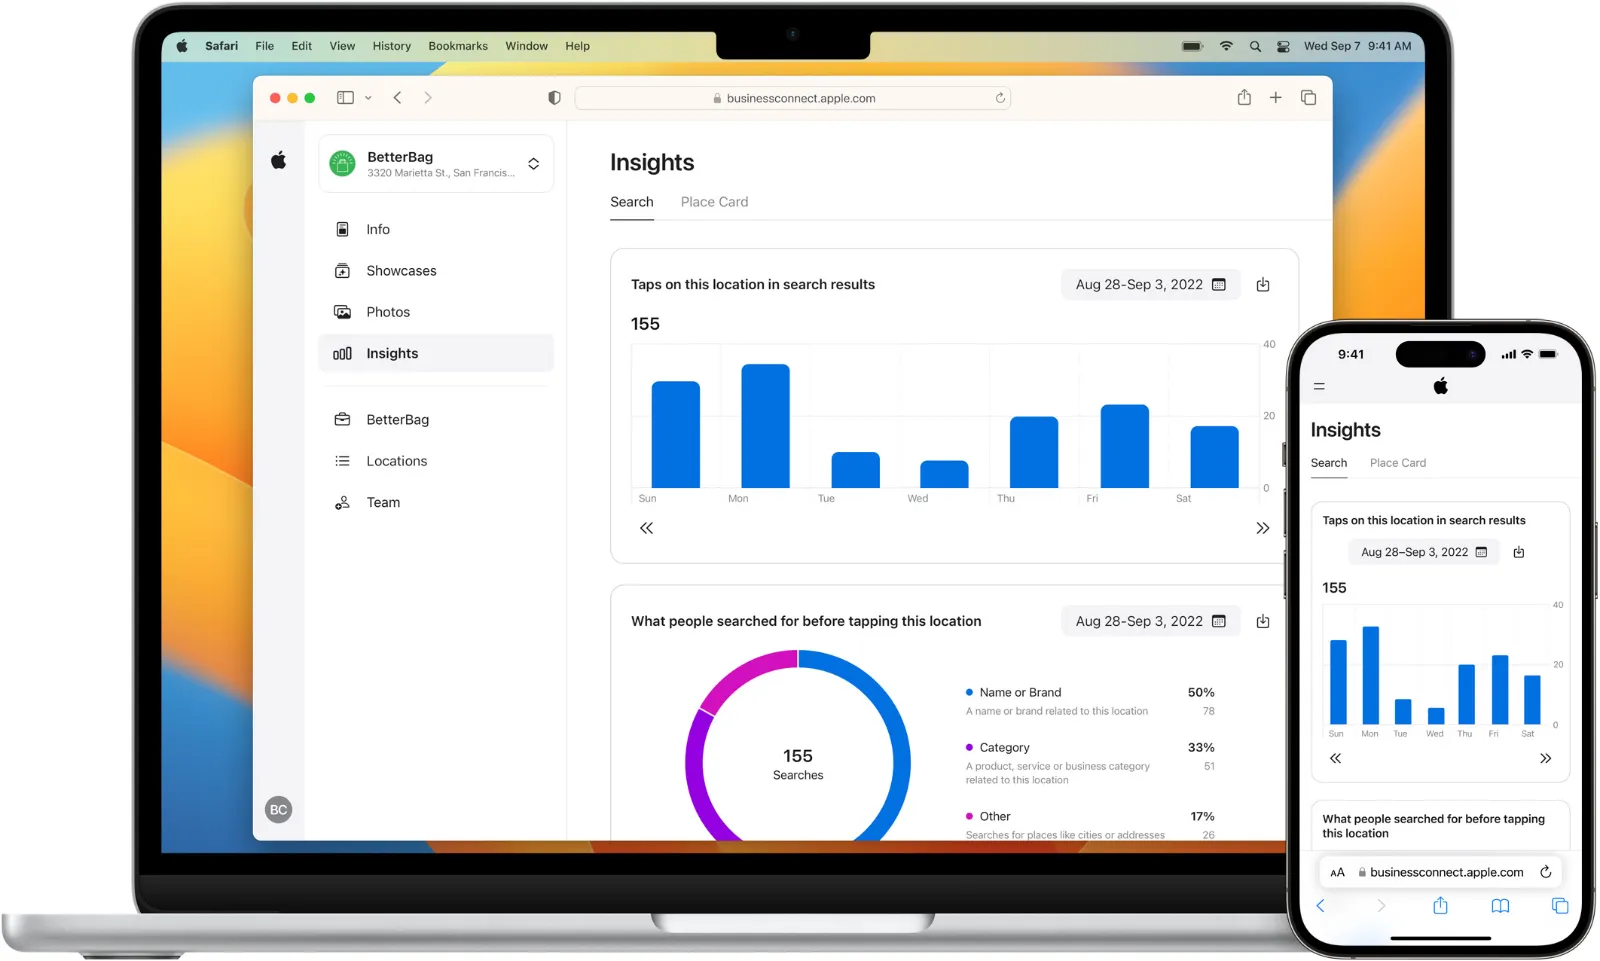
This gives you a real-time view of how your listing is performing.
Pro Tips to Enhance Apple Maps Visibility
Looking to go the extra mile? Here are some practical strategies to improve your Apple Maps ranking and user engagement.
- Ask satisfied customers to leave reviews with photos
- Share your Apple Maps listing link on Instagram, Facebook, and email footers
- Use common search phrases like “pizza near me” or “hair salon in [city]” on your website
- Keep your NAP data consistent across all directories
- Create occasional promotional Showcases inside Business Connect to highlight offers or new services
These small steps can make a big impact, especially when combined with a strong web and social media presence.
Also Read: Local SEO Checklist: Tips For Google Maps SEO
Why Businesses Ignore Apple Maps and Why That Is a Mistake
Most businesses focus on getting listed on Google Maps and skip Apple entirely. But here is the truth.
Apple Maps comes pre-installed as the default navigation app on all of them.
Siri, Safari, Spotlight Search, and Apple Mail all rely on Apple Maps data. That means if you are not listed there, your business might not show up in iPhone users’ everyday searches, voice commands, or directions.
By taking the time to add business to Apple Maps, you are opening up a whole new traffic channel that your competitors might be ignoring.
Do Not Let Your Business Be Invisible
Almost every customer decision begins with a search. If your business is not on Apple Maps, you are missing out on being part of that decision-making moment for millions of users.
That is why adding your business to Apple Maps is a smart, simple move that boosts your visibility, attracts new customers, and builds trust online.
At AdLift, a leading Local SEO agency we guide you in creating a strong, optimized Apple Maps business profile that works for you 24/7. Because having your doors open is not enough, your business needs to be easily discoverable.
So take that next step. Let your customers find you. And with AdLift by your side, make sure your business gets the attention it truly deserves.