Google Alerts Setup Made Easy: Full Guide for Beginners
Learn how to monitor your brand, track competitors, and follow your favorite topics across the web automatically, all for free. No coding or complex software is needed. With so much content being published every minute, it’s easy to miss important updates.
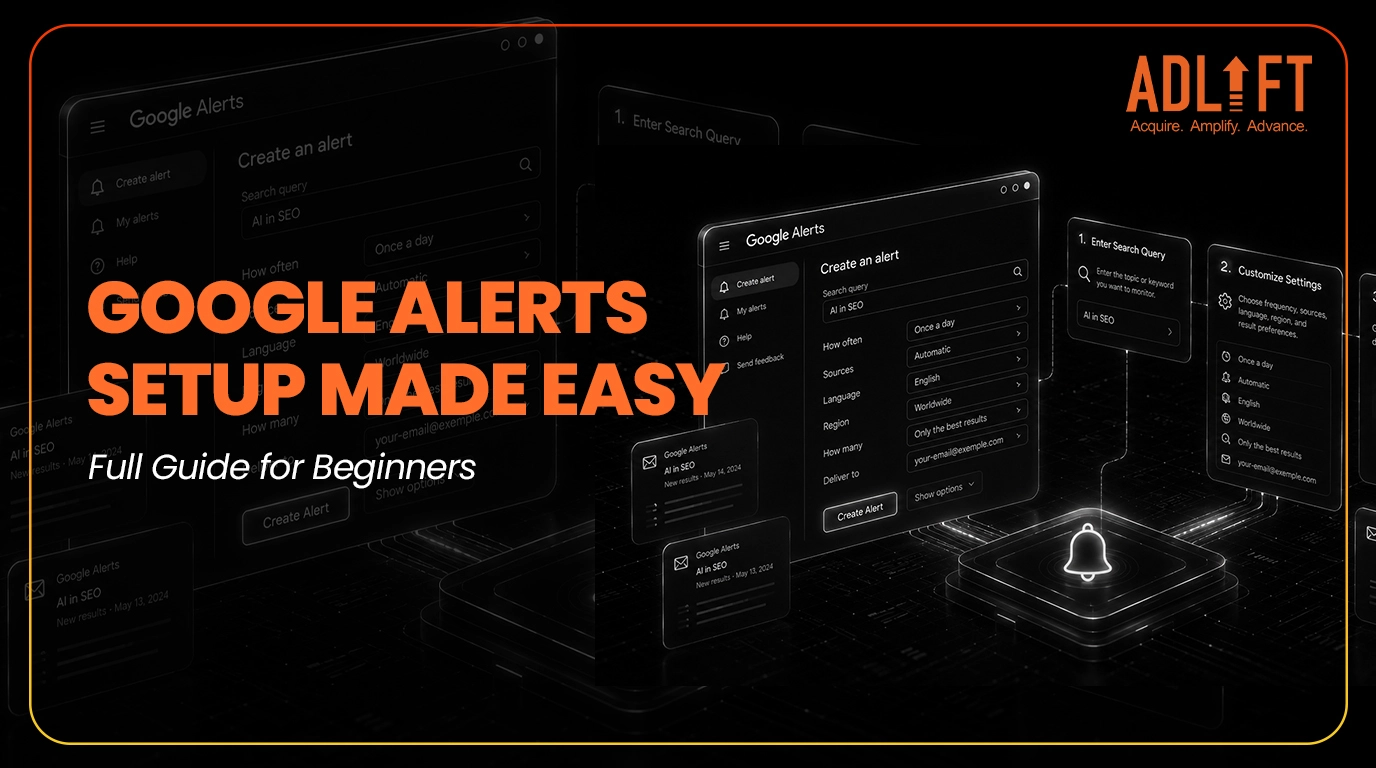
This is where Google Alerts plays a role, as a free tool that tracks the web for specific words or phrases you choose. Whenever a new website, blog post, or news article mentions your targeted keyword, Google sends a notification email directly to your inbox. Think of it as a personal search assistant working 24/7.
This guide will walk you through how to set up Google Alerts effectively, so your notifications stay relevant, manageable, and useful. You will also learn how to use Boolean operators such as AND, OR, and the minus sign to improve alert accuracy. The guide also explains the difference between “All results” and “Only the best results,” when RSS feed delivery is better than email, and what Google Alerts may not track reliably.
Why Google Alerts are Essential for Staying Informed
Keeping track of online mentions, news, or content manually can be time-consuming. Google Alerts allows you to receive updates on topics that matter to you without checking multiple websites daily. Whether it’s industry news, competitor activity, or personal mentions, alerts ensure you never miss important information.
This proactive monitoring helps you respond to trends, manage your online presence, or stay up to date with subjects relevant to your work or hobbies. Automating this process saves time, maintains awareness, and ensures significant updates are never overlooked.
How Do You Set Up Your First Google Alert in Less Than Two Minutes?
Creating your first alert is straightforward, and a few adjustments prevent an overwhelmed inbox while ensuring relevant updates. Follow these steps to start tracking topics, names, or keywords efficiently.
Step 1: Access the Dashboard
Go to google.com/alerts and sign in with the Google Account where you want notifications delivered. If you don’t have a Google Account, create one first to manage and customize alerts.

Step 2: Input Your Target Search Phrase
Type the keyword or phrase you want to track into the search bar. For multi-word terms, enclose them in quotation marks (e.g., “Cricket”) so alerts trigger only when the words appear together. This ensures precision and avoids unrelated results.
A basic keyword works, but search operators make Google Alerts more precise. Use quotation marks for exact phrases, such as “Cricket” or “Brand Name”. Use OR to track either term, such as “Brand Name” OR “Product Name”. Use AND when both terms matter, such as “Brand Name” AND review. Use the minus sign to exclude unwanted results, such as Apple -fruit.
For competitor tracking, try “Competitor Name” AND (launch OR funding OR partnership). Ahrefs also highlights search operators as useful for making searches more focused and precise.

Step 3: Expand the Hidden Options Menu
Click “Show options” to customize alert preferences:
How many: Choose between “Only the best results” and “All results.” “Only the best results” gives fewer, filtered updates. “All results” gives wider coverage and is useful for brand names, competitor mentions, or reputation-sensitive topics.
Delivery: Select email if you want alerts in your inbox. Use RSS feeds if you manage many alerts or want updates in a feed reader, dashboard, or shared team workflow.
Frequency: Decide how often you want updates (as-it-happens, daily, or weekly).
Sources: Choose from news, blogs, web, videos, books, or discussions.
Language and Region: Filter content by language and geographic focus.
Customizing these filters ensures alerts are relevant and manageable, preventing spammy or overwhelming notifications.

Step 4: Preview Results Before Creating
Before finalizing, check the preview section to see sample results. This helps confirm your alert will capture relevant content and reduce unwanted noise.

Step 5: Finalize and Create
Click “Create Alert” to activate monitoring. Your Google Alert will now automatically track your chosen keyword across the web and send notifications based on your preferences. You can repeat this process for multiple keywords, tracking different topics, competitors, or personal interests.

Step 6: Manage Your Alerts
To adjust or delete alerts later, return to the Google Alerts dashboard. Here, you can edit settings, pause alerts, or consolidate topics for cleaner management. Regularly reviewing alerts helps keep your inbox focused on what matters most.

What are the Limitations of Google Alerts?
Google Alerts is useful, but it does not cover everything. It may miss social media mentions, paywalled content, gated reports, and some web mentions. Semrush treats social monitoring as a separate part of brand tracking, while Ahrefs notes that alert and monitoring tools can support broader mention tracking.
This means Google Alerts is a good free starting point, but it should not be your only monitoring tool. For deeper brand tracking, competitor monitoring, or social listening, combine it with tools such as Semrush, Ahrefs, or dedicated media monitoring platforms.
Take Control of Your Online Monitoring
A well-built Google Alerts setup works best when each alert has a clear purpose. Brand alerts can help you spot new mentions, competitor alerts can reveal market activity, and topic alerts can support content research or industry tracking. The value comes from using specific phrases, search operators, source filters, and result settings instead of relying on broad keywords.
At the same time, Google Alerts should be seen as a starting point, not a complete monitoring system. It may miss social media conversations, gated reports, paywalled articles, or some indexed web mentions. For simple tracking, it is useful and easy to manage. For deeper brand monitoring, reputation analysis, or competitor intelligence, it works better when combined with tools such as Semrush, Ahrefs, or dedicated social listening platforms.
Sources: